
All Category | Breads | Recipe
Easy Home Made Sandwich Bread
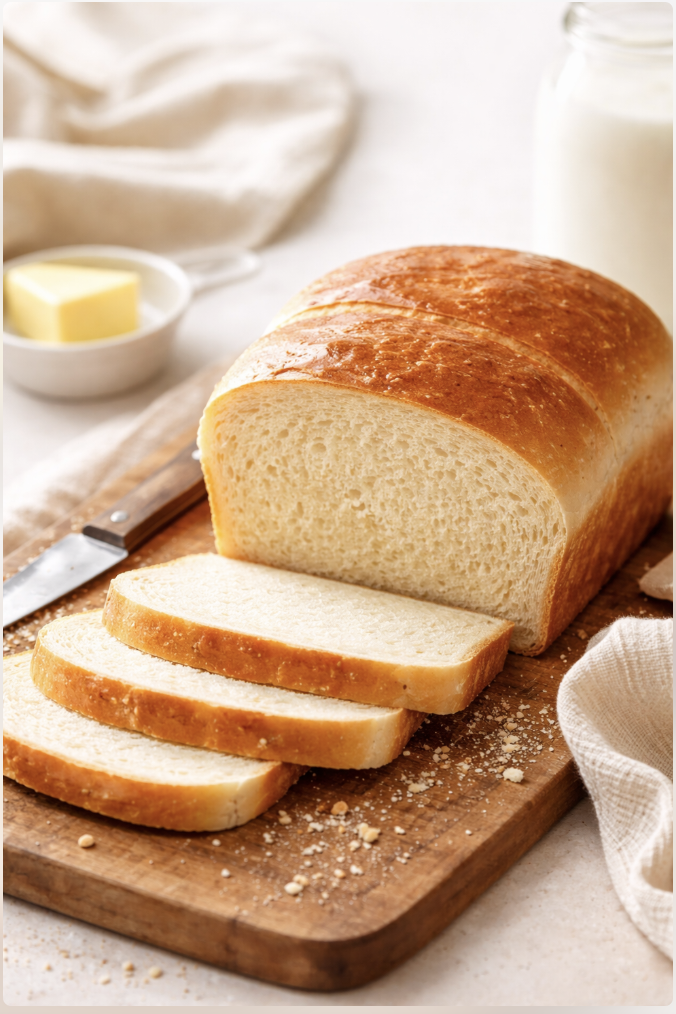
Easy HomeMade Sandwich Bread
Soft, fluffy homemade sandwich bread with just a few simple ingredients 🍞✨ No fancy skills, no stress—just mix, rest, and bake your way to the perfect loaf. Once you try this, store-bought won’t hit the same 🤍 #HomemadeBread #EasyBaking #BreadLovers
Ingredients
Method
Method 1: If You Want It Fast & Easy (Stand Mixer)
- Warm up your milk (not too hot—just cozy warm), then throw everything into your stand mixer.
- Let it mix until the dough comes together, then crank it up for about 3 minutes.
- You’ll know it’s ready when:
- It pulls away from the sides
- It feels soft and slightly tacky
- That’s your sign: you nailed it.
- Now just:
- Lightly grease your bowl
- Shape the dough into a ball
- Cover it and let it rise
- Come back in about 2 hours… and it’ll be triple the size. That’s when things start getting exciting.
🫶 Method 2: The Lazy Girl / No-Knead Way (Honestly My Favorite)
- Now THIS method feels like magic.
- Start by mixing:
- Warm milk
- Sugar, salt, oil, yeast
- Then add your flour and mix it up with a fork until it looks… messy. Like a rough, shaggy dough.
- And don’t stress—that’s exactly what you want.
Here’s a Little Secret
- This dough is not super sticky like other no-knead breads.
- Why? Because sandwich bread is supposed to be:
- Soft
- Fine-textured
- Not full of big air holes
- So we keep hydration lower = tighter, fluffier crumb.
The Trick That Changes Everything
- At some point, your fork will give up (literally ). That’s when you switch to using your hands.
- But here’s the trick:Wet your hands
- This helps:
- Prevent sticking
- Hydrate dry spots
- Make everything way easier
- Once it comes together, let it rest for 30 minutes.
The Stretch & Fold Magic
- Now instead of kneading (because we’re not doing that here), you’ll do:
- Stretch and folds
- Every 30 minutes:
- Grab one side of the dough
- Stretch it
- Fold it over
- Do this about 4 times, turning the bowl each time.
- Then tuck the dough into a smooth ball.
- Repeat this process 4 times total.
- And watch what happens…
- That messy dough?Turns into a smooth, soft, beautiful dough ball.
- No kneading. Just patience.
The Final Rise
- After your last round, let the dough rest for about 1 hour.
- By the end, it should be: Puffy Soft Tripled in size
- Now it’s ready to become bread.
Shaping the Loaf (This Part Is So Satisfying)
- Lightly flour your surface and roll the dough into a rectangle (don’t overthink it).
- Then:
- Flip it so the smooth side is on the outside
- Roll it up like a log (or sausage shape)
- Tuck the ends in
- Place it into your loaf pan seam side down.
- And just like that… it actually starts looking like real bread.
The Second Rise
- Cover it and let it rise again for about an hour.
- You’ll know it’s ready when: It rises slightly above the pan
- That’s your green light to bake.
Baking Time
- Pop it into a preheated oven at 350°F (180°C) for about 25 minutes.
- What you’re looking for:
- A nice golden top
- Fully risen loaf
- Not too pale, not too dark
- And here’s something important:
- No steam needed(This isn’t crusty bread—we want it soft!)
The Final Touch (Don’t Skip This)
- As soon as it comes out of the oven…
- Brush the top with butter.
- This gives you:
- That soft, shiny crust
- That bakery-style finish
- That “I need to eat this immediately” feeling
The Hardest Part (Waiting )
- Let it cool completely before slicing.
- I know. It’s torture.
- But if you cut it too early, it turns gummy—and we didn’t do all this for that.
Storage Tips (So It Lasts All Week)
- Store at room temperature (wrapped or in a bag)
- Pre-slice it for easy sandwiches
- Freeze slices for later
- Pro tip: Toast straight from frozen—it’s perfect.
- And whatever you do… Don’t put it in the fridge (it actually makes bread go stale faster!)